Home / Herringbone & Parquet Floor Restoration
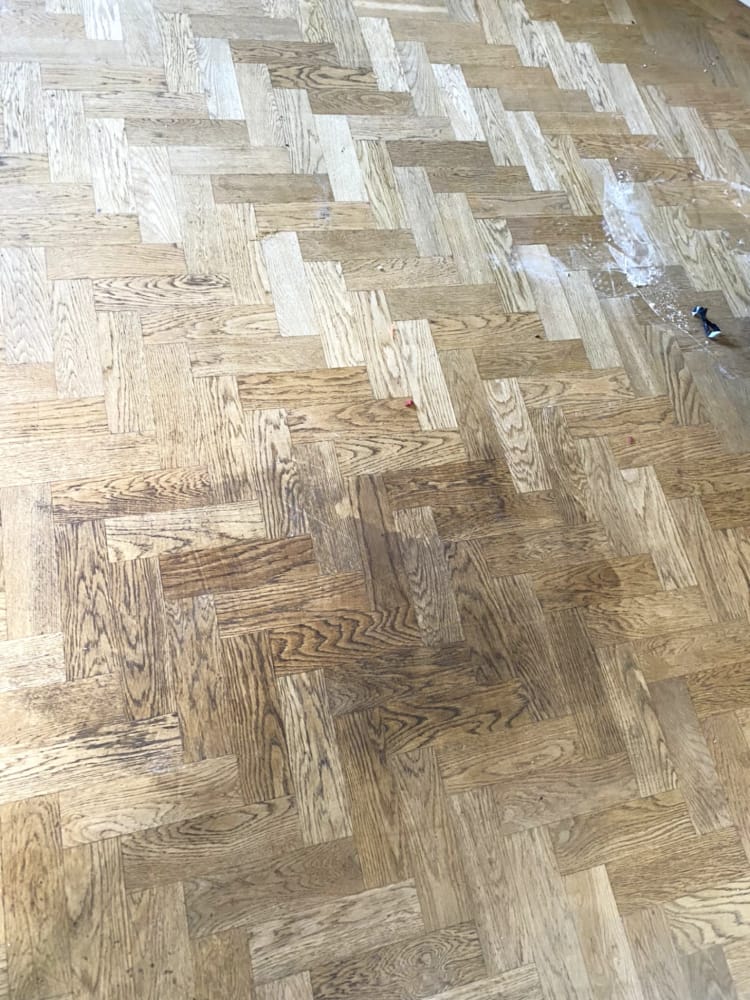
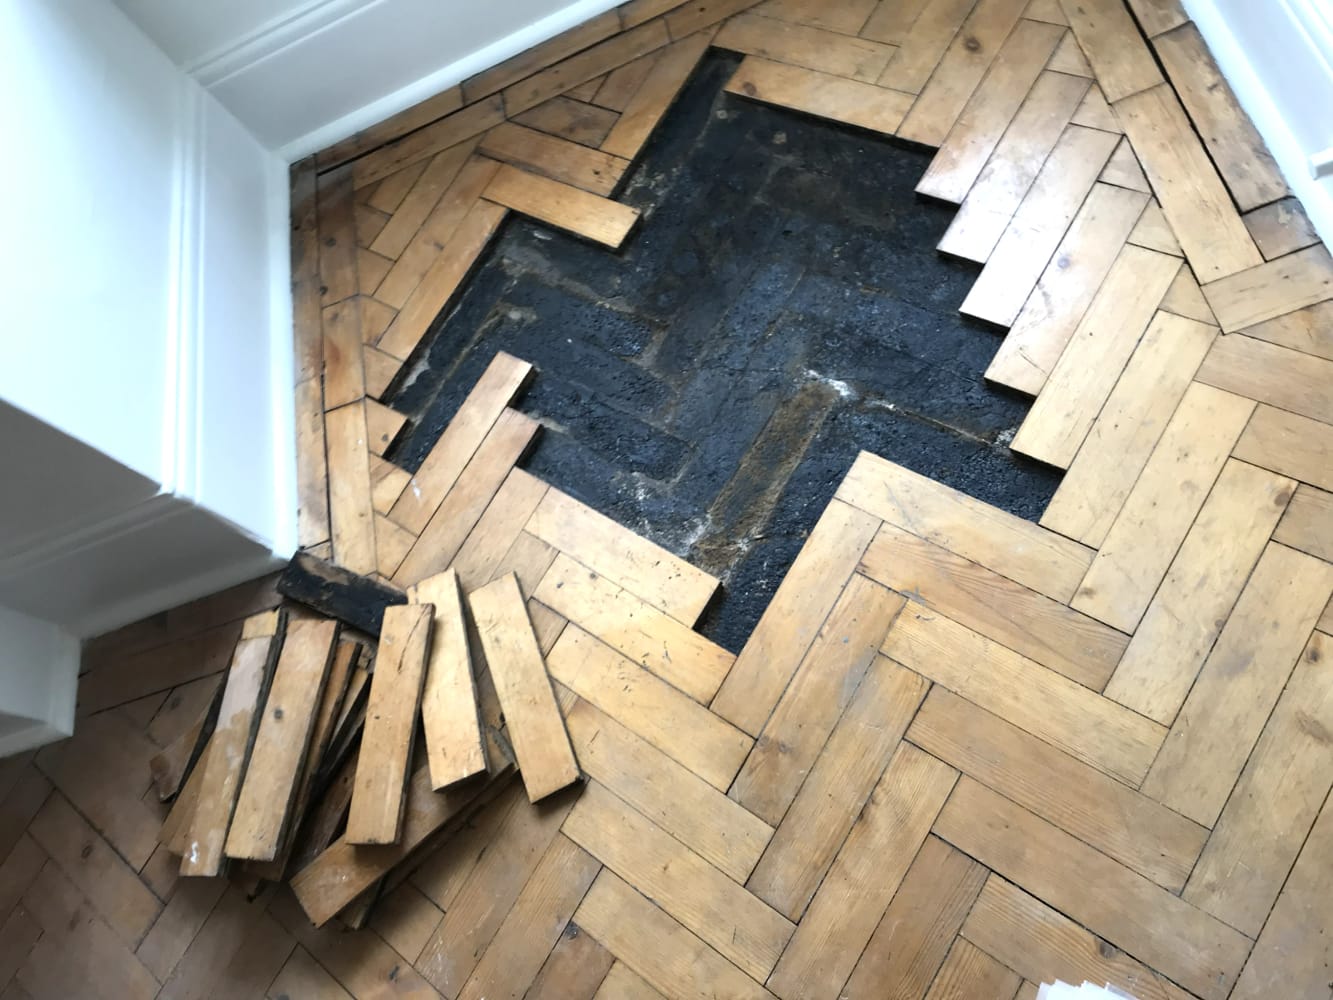
Comprehensive Pre-Sanding Inspection & Repairs

Before the restoration begins, a meticulous assessment is vital to ensure the floor’s longevity and safety during the sanding process.

  • Structural Stability: We check every individual block. Any loose or "hollow" sounding pieces are re-bonded to the subfloor using high-strength, flexible adhesives.
  • Timber Matching: For missing or severely damaged sections, we source matching reclaimed solid wood or aged parquet to ensure the repair is invisible once finished.
  • Moisture Testing: We verify the timber's moisture levels to ensure the wood is stable before applying any sealants.

The Specialized Multi-Stage Sanding Process

To achieve a perfectly flat surface on a patterned floor, we follow a strict multi-grit progression using professional, dust-free machinery.

  • Leveling with Coarse Grit: We start with a 36 or 40-grit pass, often sanding at a 45-degree angle to the pattern. This levels uneven blocks and removes old, stubborn finishes.
  • Refinement Passes: We move through 60 and 80-grit stages to remove marks from the initial pass and refine the wood texture.
  • Specialized Sanding for Different Types: Our team is highly experienced in Engineered Wood Floor Sanding, where precision is key to preserving the wear layer, as well as restoring thick solid wood parquet.
  • Fine Grit Polishing: We conclude with 100 or 120-grit finishes using a Trio (planetary) sander, which is essential for parquet to eliminate any directional sanding marks.

Resin Gap Filling: The Flawless Finish

This stage is what separates a DIY job from a professional restoration. We don't use "off-the-shelf" fillers; we create a custom solution for your floor.

  • Color Matching: We collect the fine, clean wood dust from the 80-grit sanding stage of your specific floor and mix it with a high-quality resin binder.
  • Structural Integrity: This mixture is troweled across the entire floor, filling every micro-gap between the blocks.
  • Benefits: It prevents draughts, stops dirt from accumulating in the joints, and prevents the floor from looking "fragmented," creating a solid, unified surface.

Final Polishing & Surface Conditioning

Before the first coat of primer or lacquer is applied, the floor must be perfectly prepared to absorb the finish.

  • Orbital Buffing: We use a high-speed buffer to "polish" the wood. This opens the pores of the timber just enough to ensure the primer bonds deeply and evenly.
  • Dust Extraction: Despite our dust-free machines, we perform a final industrial vacuuming and "tack-ragging" to ensure not a single speck of dust is trapped under the lacquer.

Tailored Finishing Options

Once the surface is prepared, we apply the final protection based on your lifestyle and aesthetic preferences:

  • Prime & Protect: We apply a dedicated primer followed by 2-3 coats of heavy-duty, water-based lacquer.
  • Staining & Custom Tones: We can apply professional stains to enhance the herringbone pattern—from "Antique Oak" to modern "Nordic White."
  • Hard-Wax Oils: Ideal for those who want a natural feel and the ability to spot-repair the floor in the future.

Read more >

Note: Parquet restoration is a specialized skill. Whether you have a century-old solid oak herringbone or a modern engineered floor, our dust-free process guarantees a premium result without the mess.

Book your FREE SITE visit today and let's bring your flooring vision to life

Arrange a free, no-obligation site visit. Our flooring experts will assess your space, provide tailored advice, and help you find the perfect solution.

Book Free QuoteCall us